Custom Spear
TIP
It's highly recommended that you have a basic understanding of JavaScript and Script-API.
WARNING
It's highly recommended that you have made the basic textures and models for this guide..
Before we start, let's make sure you have your file structure set up:
- 🖼️spear.png
- 🖼️spear.png
- 📝spear.json
- 📝spear.json
- 📝spear_animation.json
- 🈵en_US.lang
- 📝manifest.json
- 🖼️pack_icon.png
- 📝spear.json
- 📝spear.json
- 🖼️pack_icon.png
- 📝manifest.json
Making custom spears is a really simple task. It was not simple for Koala Boy though. There are some scripting involved, but it doesn't do the main behaviors.
Item
It can go without saying that you'd obviously need an item to make a spear, however we don't use some "basic" behaviors. Let's get an item file and let's add the following components. Let's start with the main components:
{
    //Use duration is the max time we can use the item.
    "minecraft:use_duration": 3600,
    //This component is what gives our spear the ability to 'draw' it like a bow
    "minecraft:throwable": {
        "min_draw_duration": 2,
        "max_draw_duration": 4,
        "scale_power_by_draw_duration": true
    },
    //What projectile to shoot when draw is complete
    "minecraft:projectile": {
        "projectile_entity": "wiki:thrown_iron_spear",
        "minimum_critical_power": 1.0
    },
    //Durability of the spear.
    "minecraft:durability": {
        "max_durability": 125
    }
}Spear Projectile
We can safely say that we got the important components for our spear. Next we move over to the projectile. This projectile will be a simple entity, with some added components and a runtime identifier to get the correct behaviors.
Projectile
{
    "format_version": "1.12.0",
    "minecraft:entity": {
        "description": {
            "identifier": "wiki:thrown_iron_spear",
            "is_spawnable": false,
            "is_summonable": true,
            "is_experimental": false,
            "runtime_identifier": "minecraft:snowball"
        },
        "component_groups": {
            "wiki:give": {
                "minecraft:instant_despawn": {}
            }
        },
        "components": {
            "minecraft:conditional_bandwidth_optimization": {
                "default_values": {
                    "max_dropped_ticks": 10,
                    "max_optimized_distance": 100,
                    "use_motion_prediction_hints": true
                }
            },
            "minecraft:hurt_on_condition": {
                "damage_conditions": [
                    {
                        "cause": "lava",
                        "damage_per_tick": 4,
                        "filters": {
                            "operator": "==",
                            "subject": "self",
                            "test": "in_lava",
                            "value": true
                        }
                    }
                ]
            },
            "minecraft:physics": {},
            "minecraft:projectile": {
                "anchor": 1,
                "gravity": 0.05,
                "hit_sound": "bow.hit",
                "offset": [0, -0.1, 0],
                "on_hit": {
                    "definition_event": {
                        "event_trigger": {
                            "event": "example:foo",
                            "target": "self"
                        }
                    },
                    "impact_damage": {
                        "damage": 7,
                        "destroy_on_hit": false,
                        "knockback": true,
                        "power_multiplier": 0.97,
                        "semi_random_diff_damage": false
                    },
                    "stick_in_ground": {
                        "shake_time": 0.35
                    }
                },
                "power": 3,
                "should_bounce": true,
                "stop_on_hurt": true
            },
            "minecraft:pushable": {
                "is_pushable": false,
                "is_pushable_by_piston": true
            }
        }
    }
}{
"components": {
//Entity sensor detects if the projectile is on the ground, and if the player is near the entity.
//This will run an event when it's true
"minecraft:entity_sensor": {
"event": "wiki:give",
"event_filters": {
"all_of": [
{
"subject": "other",
"test": "is_family",
"value": "player"
},
{
"subject": "self",
"test": "on_ground",
"value": true
}
]
},
"minimum_count": 1,
"relative_range": false,
"sensor_range": 0.7
}
},
"events": {
/*
This event will despawn our projectile, and give our player a tag, which we will use in our script.
*/
"wiki:give": {
"sequence": [
{
"add": {
"component_groups": ["wiki:give"]
}
},
{
"randomize": [
{
"queue_command": {
"command": ["playsound random.pop @p", "tag @p add iron_spear"]
},
"weight": 90
}
]
}
]
}
}
}Once we're done with out projectile entity, it's time to go to Resource Packs.
Client Entity
We will be using a basic client entity file for our projectile with added code.
Client Entity
{
    "format_version": "1.10.0",
    "minecraft:client_entity": {
        "description": {
            "identifier": "wiki:thrown_iron_spear",
            "materials": {
                "default": "entity_alphatest"
            },
            "textures": {
                "default": "textures/entity/iron_spear"
            },
            "animations": {
                "move": "animation.weapon.default_thrown"
            },
            "scripts": {
                "animate": ["move"]
            },
            "geometry": {
                "default": "geometry.stone_spear"
            },
            "render_controllers": ["controller.render.default"]
        }
    }
}Inside our client entity file, you might have noticed that there is animations bound to it. This animation will make our projectile rotate as it flies.
WARNING
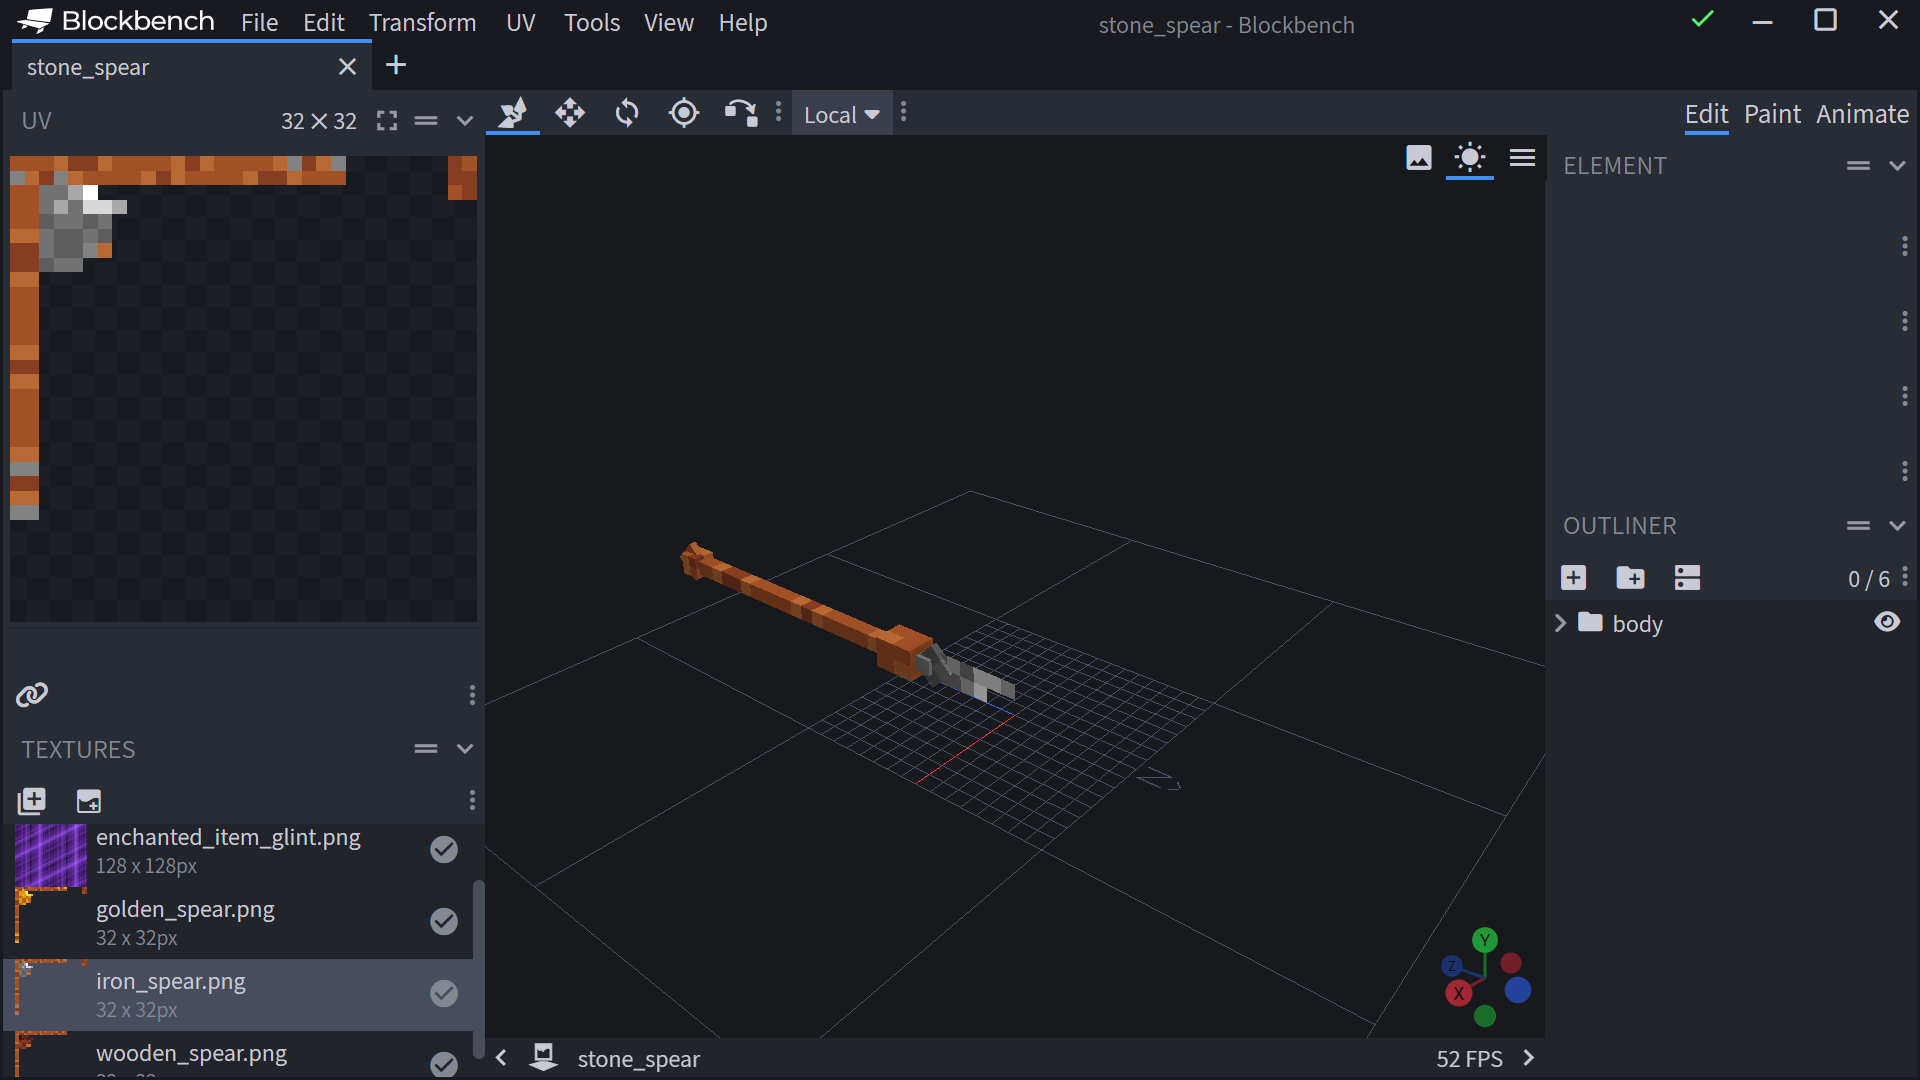
Make sure your entity model is modeled like the image bellow!

Animation
The animation we use for our projectile isn't you normal entity animation. This one uses molang to define rotations.
{
    "format_version": "1.8.0",
    "animations": {
        "animation.weapon.default_thrown": {
            "loop": true,
            "bones": {
                "body": {
                    //This is some molang stuff. The animation uses this to rotate the model based on its current angle.
                    "rotation": ["-q.target_x_rotation", "-q.body_y_rotation", 0]
                }
            }
        }
    }
}Attachable
We will be using the Trident Attachable because it comes with item positions and use animations already. It should look like this:
{
    "format_version": "1.10.0",
    "minecraft:attachable": {
        "description": {
            "identifier": "wiki:iron_spear",
            "materials": {
                "default": "entity_alphatest",
                "enchanted": "entity_alphatest_glint"
            },
            "textures": {
                "default": "textures/entity/iron_spear",
                "enchanted": "textures/misc/enchanted_item_glint"
            },
            "geometry": {
                "default": "geometry.stone_spear_item"
            },
            "animations": {
                "wield": "controller.animation.trident.wield",
                "wield_first_person": "animation.trident.wield_first_person",
                "wield_first_person_raise": "animation.trident.wield_first_person_raise",
                "wield_first_person_raise_shake": "animation.trident.wield_first_person_raise_shake",
                "wield_first_person_riptide": "animation.trident.wield_first_person_riptide",
                "wield_third_person": "animation.trident.wield_third_person",
                "wield_third_person_raise": "animation.trident.wield_third_person_raise"
            },
            "scripts": {
                "pre_animation": [
                    "v.charge_amount = math.clamp((q.main_hand_item_max_duration - (q.main_hand_item_use_duration - q.frame_alpha + 1.0)) / 10.0, 0.0, 1.0f);"
                ],
                "animate": ["wield"]
            },
            "render_controllers": ["controller.render.item_default"]
        }
    }
}Script
Now that we've setup our spear, there is no way to damage the spear when it's thrown. To do this, we will make use of Script-API.
The script is really simple, and wouldn't require much brain power.
import { world, ItemStack } from "@minecraft/server";
import { system } from "@minecraft/server";
//This prevents world crash
system.beforeEvents.watchdogTerminate.subscribe((data) => {
    data.cancel = true;
});

world.afterEvents.itemReleaseUse.subscribe((ev) => {
    //This is for multiplayer support
    for (const player of world.getPlayers()) {
        //Basic variables to get the player inventory and held item.
        let inv = player.getComponent("inventory").container;
        //Our itemStack to save our item. This also saves item data.
        const itemStack = inv.getItem(player.selectedSlot);
        //If the item we're holding is our spear, we run code.
        if (itemStack?.typeId === "wiki:iron_spear") {
            var container = player.getComponent("inventory").container;
            //The new item to be given.
            var newItem = new ItemStack("wiki:iron_spear");
            var oldItem = container?.getItem(player.selectedSlot);
            //Here's that tag!
            player.removeTag("iron_spear");
        }
        //We subscribe a tick event to detect when we have the tag and if the item has durability less than the max.
        let e = system.runInterval(() => {
            if (
                player.hasTag("iron_spear") &&
                itemStack?.typeId === "wiki:iron_spear" &&
                itemStack?.getComponent("durability").damage <= 125
            ) {
                player.removeTag("iron_spear");
                //This gives our saved item (newItem) +1 durability each time we pick it up.
                newItem.getComponent("durability").damage =
                    oldItem.getComponent("durability").damage + 1;
                container.setItem(player.selectedSlot, newItem);
                //When we don't have the tag, we stop the tick event.
                if (!player.hasTag("iron_spear")) {
                    system.clearRun(e);
                }
            }
        });
    }
});Final Product
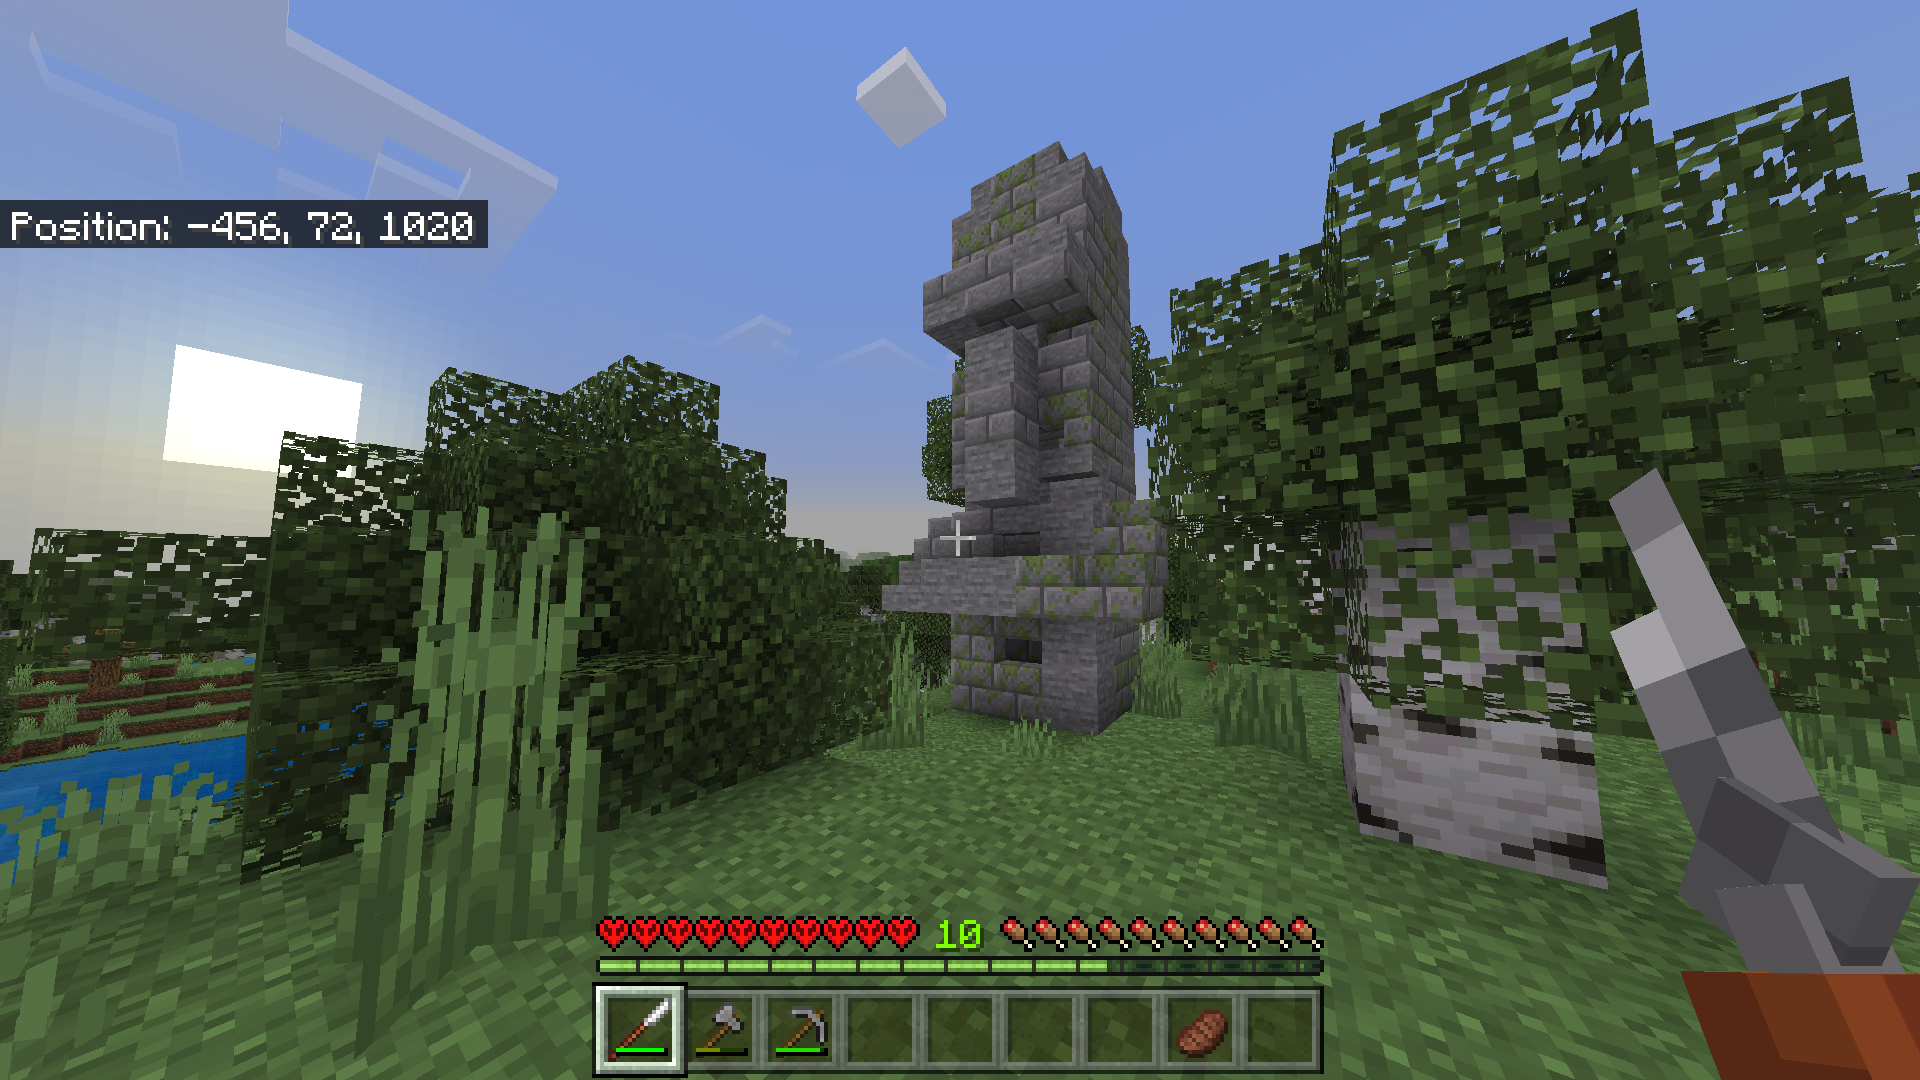
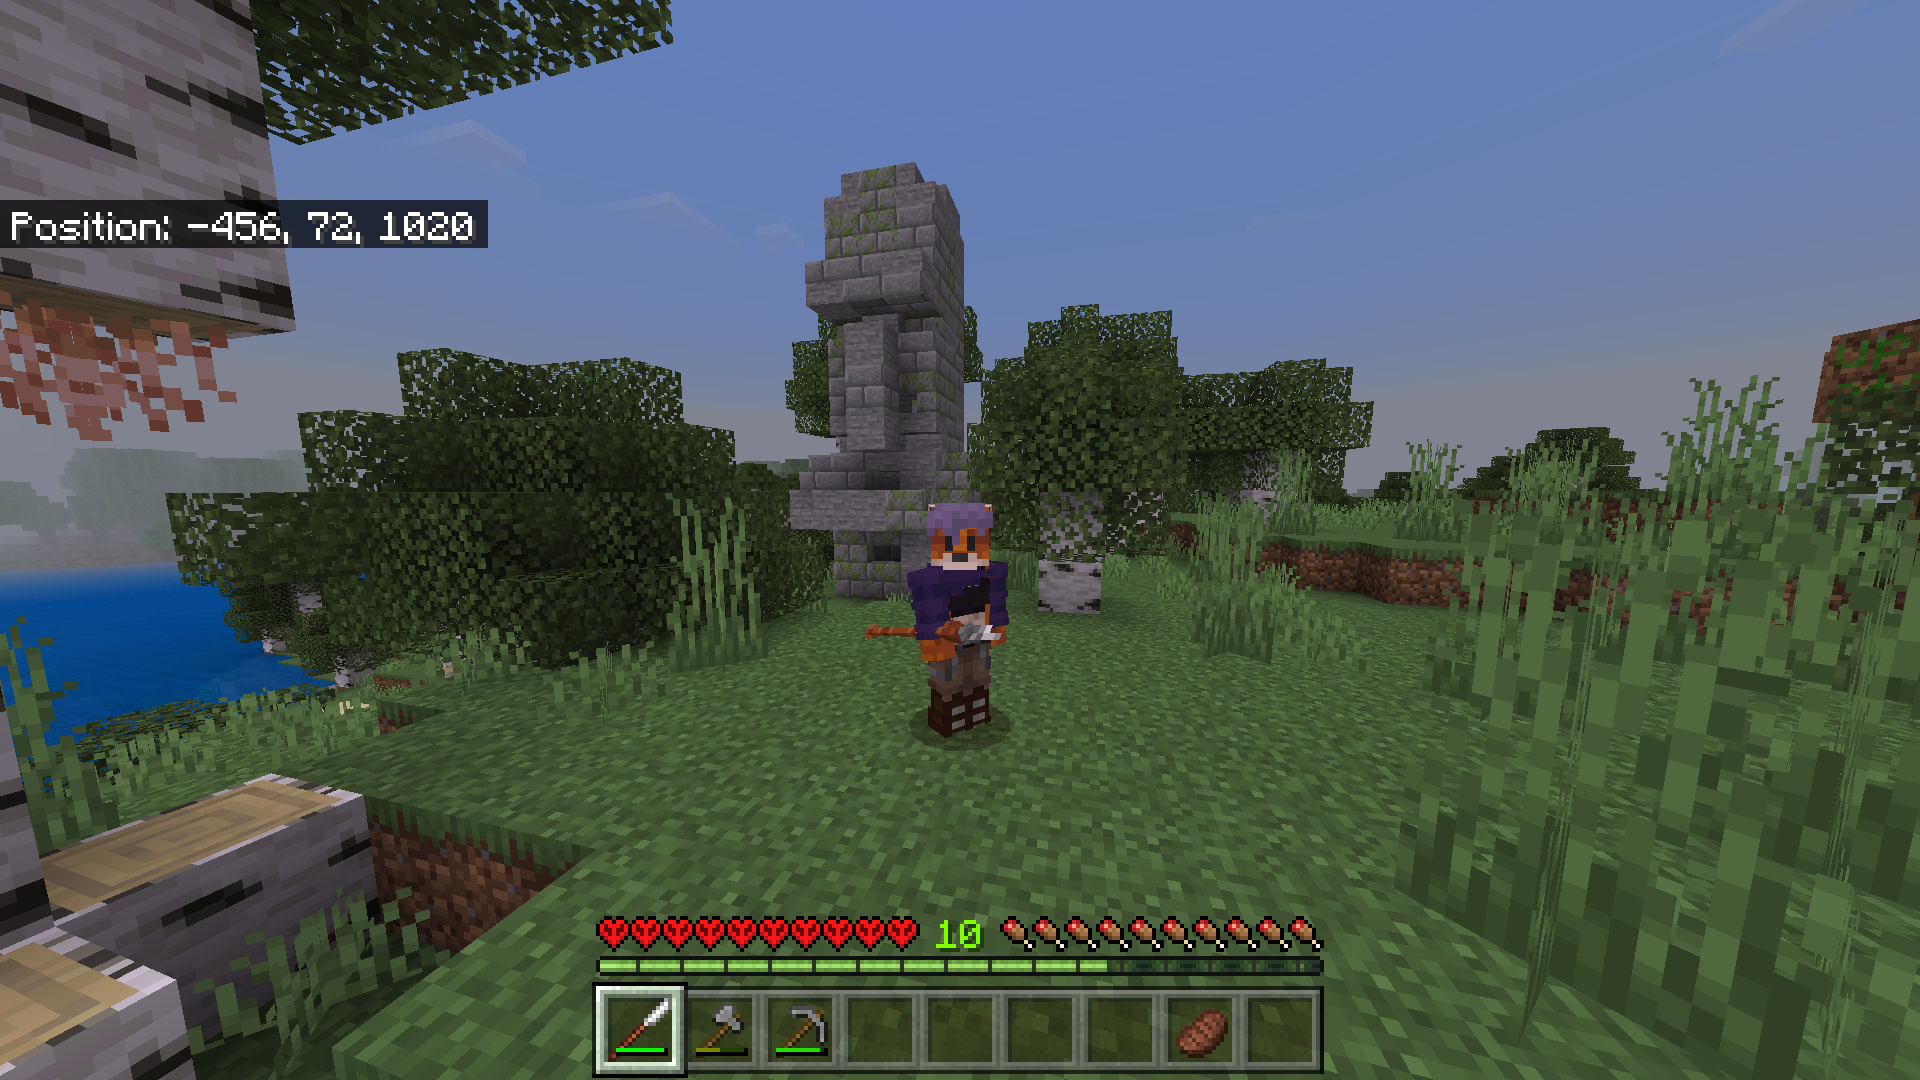
Once you've followed this guide, you should have your own working spear in-game.


Example Pack Download:
💾 Example Pack


