High Resolution Items
TIP
This tutorial uses attachables. If you do not know what an attachable is, read this page first: Attachables
Introduction
Most of the time when creating items, the standard 16x16 resolution is enough. Sometimes though, you want to have a more detailed item. You may have noticed an issue with higher resolution items though: They end up looking larger rather than more detailed!
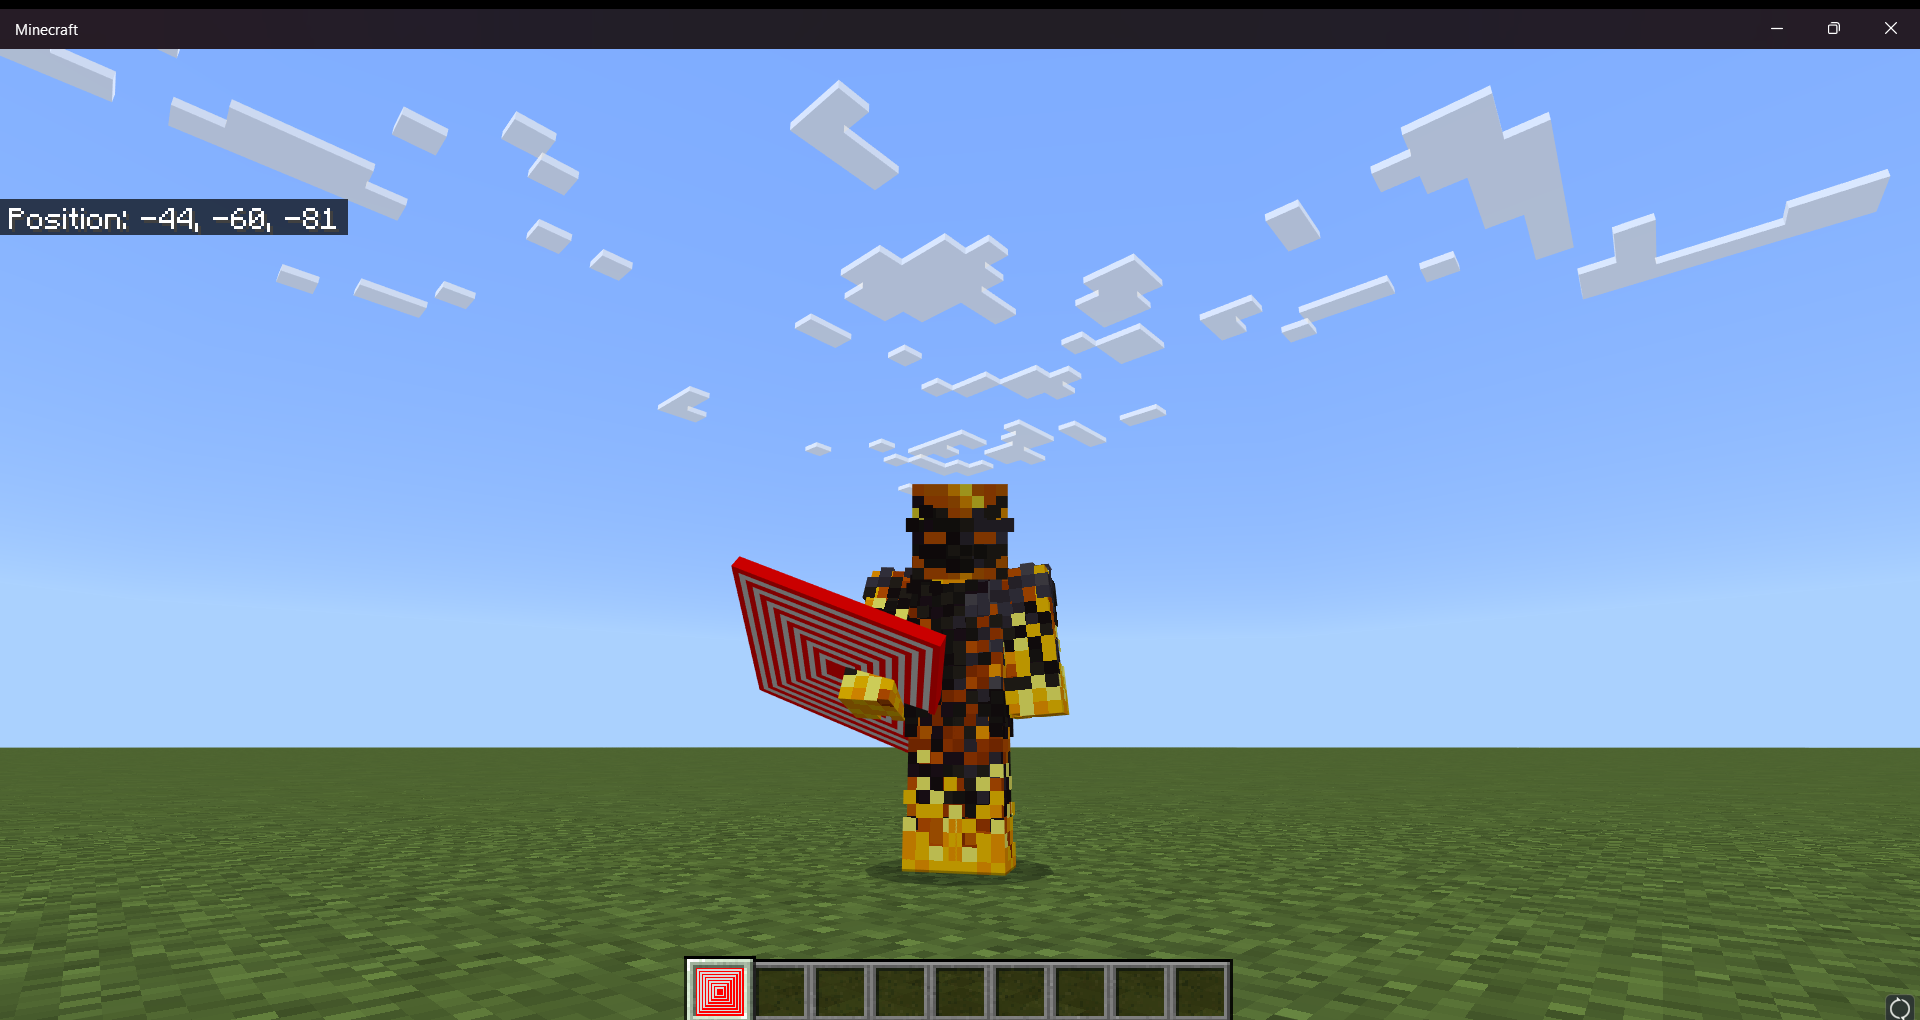
The solution to this is using an attachable to scale the item down while being held. The calculations to do so can require quite a bit of tuning, so this page gives the code you need to create an attachable to scale your item back down to a normal size! It isn't perfect, but it will look very similar to a normal item, save for some slight differences in rotation and in how it animates when you punch with it. The main idea of what it does is that it uses an animation to scale the size of the item down to what the size should be
Files
For this fix, we need a geometry, a render controller, an attachable, and an animation.
Here is the geometry file. What it does is it uses a texture mesh to read in the texture used in your attachable, and create a geometry based off of that, without having to painstakingly model cubes to match the item! This file should not require any editing
{
    "format_version": "1.16.0",
    "minecraft:geometry": [
        {
            "description": {
                "identifier": "geometry.large_item",
                "texture_width": 16,
                "texture_height": 16,
                "visible_bounds_width": 2,
                "visible_bounds_height": 1.5,
                "visible_bounds_offset": [0, 0.25, 0]
            },
            "bones": [
                {
                    "name": "rightitem",
                    "pivot": [0, 0, 0],
                    "texture_meshes": [
                        {
                            "texture": "default",
                            "position": [0, 0, 0],
                            "local_pivot": [8, 0, 8]
                        }
                    ]
                }
            ]
        }
    ]
}This is what the render controller file should look like. This one is also pretty simple, and so should not require any edits.
{
    "format_version": "1.8.0",
    "render_controllers": {
        "controller.render.large_item": {
            "geometry": "Geometry.default",
            "materials": [{ "*": "variable.is_enchanted ? Material.enchanted : Material.default" }],
            "textures": ["Texture.default", "Texture.enchanted"]
        }
    }
}This is what the attachable file will look like. Note that you need to change <identifier> to match your items identifier, and replace <path> with the filepath to your items texture (the same one used in item_texture.json)
{
    "format_version": "1.10.0",
    "minecraft:attachable": {
        "description": {
            //Replace <identifier> with the full identifier of your item
            "identifier": "<identifier>",
            "materials": {
                "default": "entity_alphatest",
                "enchanted": "entity_alphatest_glint"
            },
            "textures": {
                //Replace <path> with the filepath to your items texture. It should match up with the filepath given in item_texture.json
                "default": "<path>",
                "enchanted": "textures/misc/enchanted_item_glint"
            },
            "geometry": {
                "default": "geometry.large_item"
            },
            "animations": {
                "hold": "animation.large_item.hold"
            },
            "scripts": {
                "animate": ["hold"]
            },
            "render_controllers": ["controller.render.large_item"]
        }
    }
}Now that we have those files in place, we can create the animation that does all of the magic! This animation will rotate your item to match up closely with how vanilla items are rotated when held. It will also scale your item down to the right size.
{
    "format_version": "1.10.0",
    "animations": {
        "animation.large_item.hold": {
            "loop": true,
            "bones": {
                "rightitem": {
                    //These animations position it in the correct location
                    "position": [
                        "c.is_first_person ? -6 : 1",
                        "c.is_first_person ? 0 : -1",
                        "c.is_first_person ? -1 : -6"
                    ],
                    "rotation": [
                        "c.is_first_person ? 45 : 15",
                        "c.is_first_person ? -15 : 0",
                        "c.is_first_person ? 30 : -165"
                    ],
                    "scale": [
                        "c.is_first_person ? 1 : 0.5",
                        "c.is_first_person ? 1 : 0.5",
                        "c.is_first_person ? 1 : 0.5"
                    ]
                }
            }
        }
    }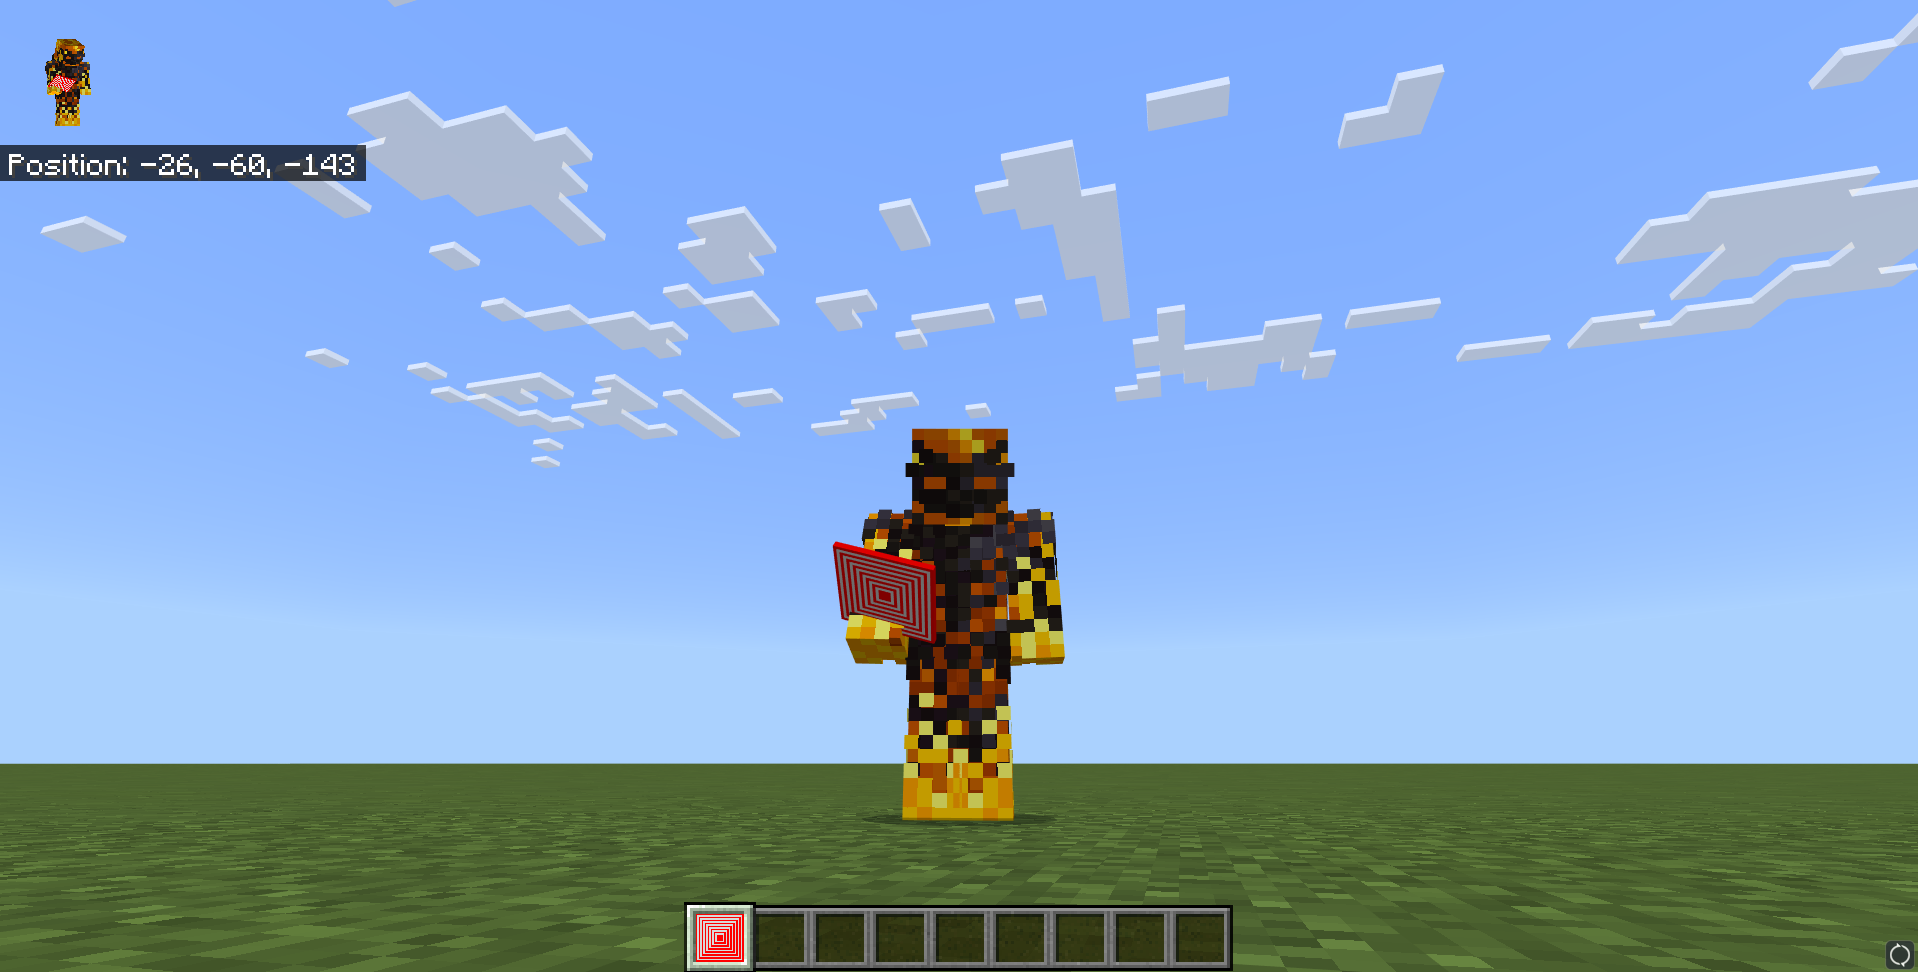
}Result
With all of these files in place, your item should look a lot better! For example, here is what the item I used in the first image looks like when I add all of the files in this tutorial to a resource pack, replacing all of the appropriate values with the values used in my item:
Contributors
