Bedrock Modeling
This will guide tips, tricks, and things you should know when modeling for Minecraft Bedrock Edition.
Texture Glitch
Sometimes the texture on some (smaller) faces is glitched or invisible. This is because the size of cubes is floored for the UV map calculation. This means that any size smaller than 1 will result in a 0 pixel wide UV map, which will look glitchy. To prevent this, make sure all of your cubes are at least 1 unit long in each direction. To create smaller cubes, use the Inflate slider. Another trick to solve this if you must have smaller textures is by increasing the element size by 1 in each direction and then inflating the element by -1 though note that this will make you have smaller pixels textured incorrectly will lead to mixels.
Vertex Snap
Vertex snap is a handy tool in blockbench any modeler should use. It's beneficial when doing rounded things like wheels. You can find this tool right top next to the movement & scale tools. It has 2 modes, Move & Scale. How this tool works can be seen in the following gif. 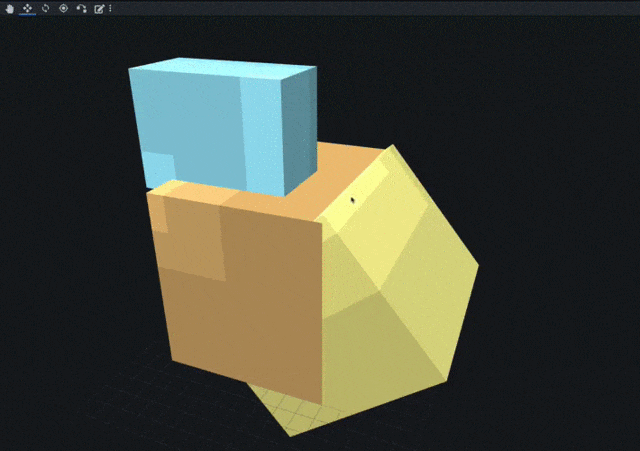
Transparency
If you use semi-transparent textures (like colored glass), you need to move elements with that texture to the bottom of the element list. Otherwise, elements behind these semi-transparent ones won't render in-game.
Texturing
When learning to texture, your best bet is practicing with references on how others textured similar objects & surfaces. Patterns for wood & metal are different, and you should consider that. Good guides are Masteriano's Texturing Tips and in general, any on pixel art.
Materials
Whether or no the transparency or emissive textures in your models work in-game, it's decided by the materials applied to them.
| Material | Description |
|---|---|
| entity | basic opaque material |
| entity_alphatest | supports transparent pixels |
| entity_alphablend | supports translucent pixels |
| entity_emissive | solid, alpha channel is used as the emissive channel |
| entity_emissive_alpha | alpha channel is used for emissive textures, completely black + transparent pixels are rendered transparently |
Z-fighting
Z-fighting is called when you have the face of 2 elements in the same place, and you can see both or half of them at the same time, as seen in the following picture. 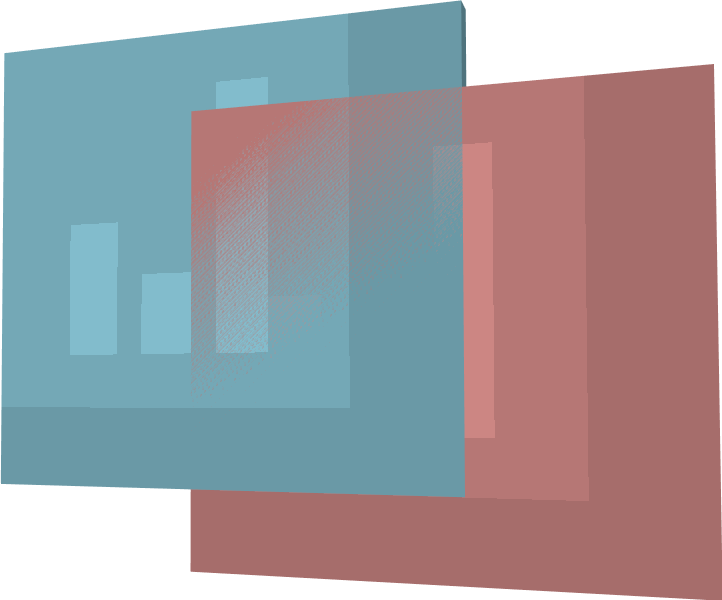 You can solve this by inflating one of them by
 0.01 or -0.01 depending on which one should prioritize.
Basics of Animations
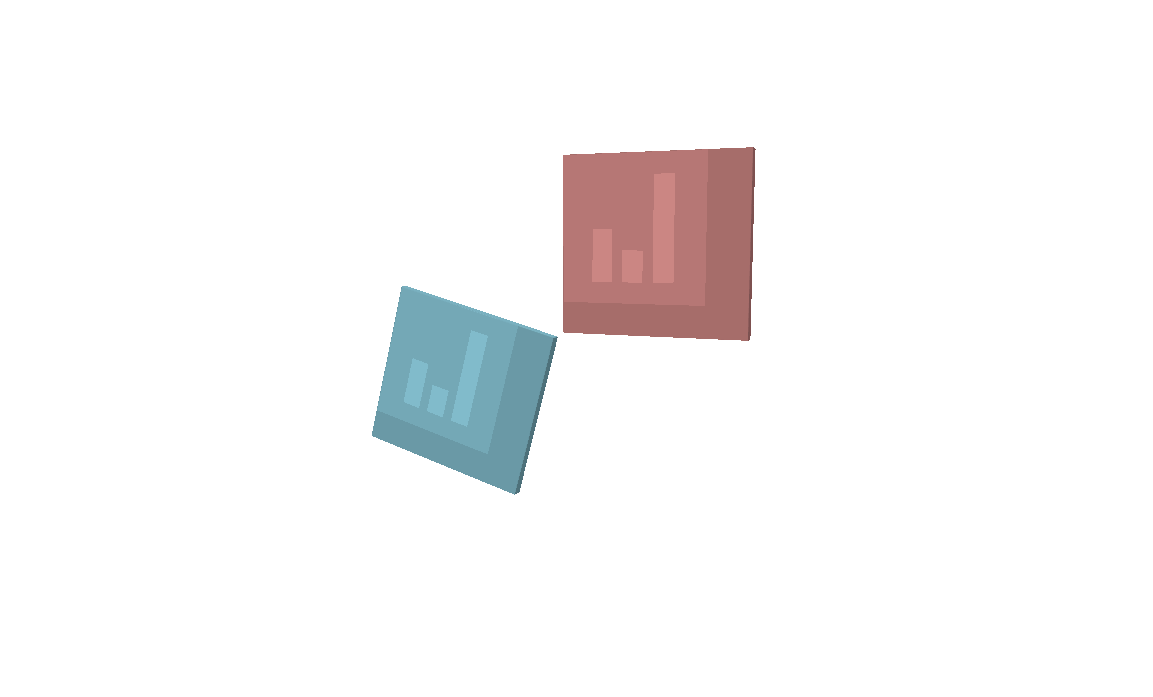
When animating in Blockbench, you can set each keyframe by hand, or you can use variables & functions. Here you will learn the basics. Let's start with this picture.
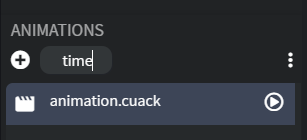
the name or animation.cuack is essential. You can't have symbols or caps there, and it must start with animation. for the animations to work without problems. Now the function we will be using is
Base + Math.sin((q.life_time + Offset) * Speed) \_ pitch
- Base is the starting rotation/position the bone has
- Sin is the math function we all know
q.life_timeis a variable. Is a number that will be increasing as the animation continues- Offset is a number we use to have the animation start earlier or later than its "original" position
- Speed is the time it will take from going from top to down
- Pitch is how far it goes from the origin
Function used:
Math.sin((q.life_time+0.5)*150)*15
one on position & the other on rotation.
Don't forget that for the animation to be a perfect loop. It would help if you correlated the sin equation speed & the animation time. Here's a table with values to get a perfect loop, though there are more you can discover.
| Speed | Time | Group |
|---|---|---|
| 150 | 2.4 | 1 |
| 100 | 3.6 | 2 |
These numbers can be multiplied but not divided, so these will also work But only multiples of the same option
| Speed | Time | Group |
|---|---|---|
| 150 | 4.8 | 1 |
| 200 | 3.6 | 2 |
| 300 | 2.4 | 1 |
| 300 | 3.6 | 1 & 2 |
Now not all of these will "loop" together. And that is the Group column. The ones with the same number will work together. Otherwise, they will have a visible "glitch" in the loop.
TIP
You can have an animation in the loop by clicking on the following setting: 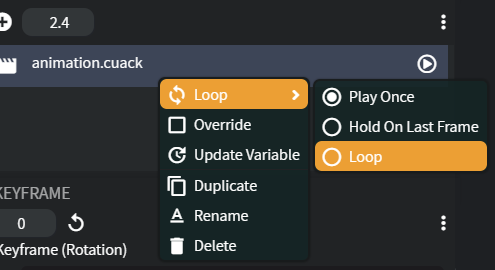
With this function & creativity, animals & dinosaurs are animated into walking, running & attacking. You can learn more about queries & functions here.
Animation Speed
To easily change the speed of an animation you can simply multiply the default value of anim_time_update (defaults to q.delta_time + q.anim_time) inside our animation:
"animation.my_entity.my_animation": {
    "anim_time_update":"2 * q.delta_time + q.anim_time"
    //Your animation goes here!
}This will make the animation run 2 times faster. We can tweak the value to any buoyant float, so we can even slow down animations. With 0.5, for example, the animation will run 2 times slower, etc.
Contributors


