How to Contribute
About This Guide
This guide will walk you through how to get started editing the wiki. While it is possible to edit the wiki "in-place" on the github website, this guide will instead teach you the proper technique. This is a valuable and transferable skill, and will set you up for additional knowledge beyond just editing the wiki.
This article will teach you how to use GitHub Desktop, the easiest way to manage your local Repositories. Its possible to do this without GitHub Desktop just by using Git, but this is more advanced than just using GitHub Desktop and we won't be covering this in this guide.
If you already know some of the steps we cover in this guide, feel free to use the Table of Contents on the right side to skip to the sections you don't know!
And if you want to learn more about our fancy styling-features, continue with our Contribute-Style-Guide!
Steps to Edit the Wiki
To edit the wiki, there are 5 major steps that you need to follow (downloading and setting up the software is just done the first time):
- Fork the Repository
- Clone the Repository
- Edit the Wiki
- Commit your local changes and sync with GitHub
- Create a Pull Request
If you see this the first time, it might look a little overwhelming, but don't worry! Its very easy and we guide you through this step by step.
Setting Up the Software
To edit our wiki, you need to download and install the following software:
- GitHub Desktop
- NodeJS
- Visual Studio Code
If you want to edit the wiki more frequently, you might want to start using Git, as its more powerful than GitHub Desktop. But don't worry, GitHub Desktop is enough for us!
Visual Studio Code
Visual Studio Code (VSCode) is a great environment to edit all your files, code something, etc. You can use other editors too, but in this tutorial we will guide you through the installation of VSCode.
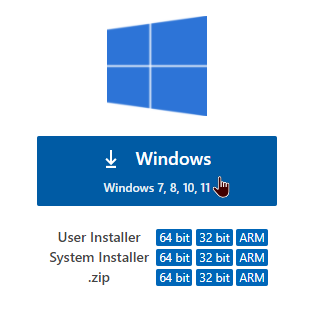
Installation
Go to your folder where you saved the .exe and double-click it. The setup window will open. You can click on next most of the time, just make sure on the "additional tasks" window, that add to PATH is selected.
On the last page, just click install.
After the installation has finished, just click Finish. VSCode should now start. If it doesn't start, open it manually.
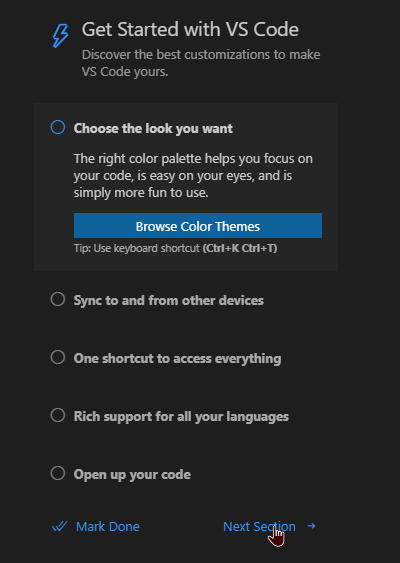
Now you can customize the look of your VSCode. If you are done or don't want to customize it, click "Next Section".
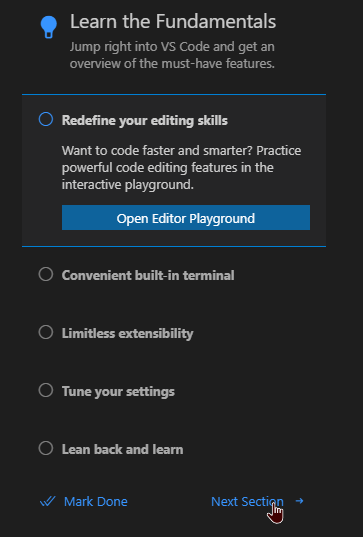
Now you can learn some fundamentals for VSCode. As before, if you are done, just click "Next Section".
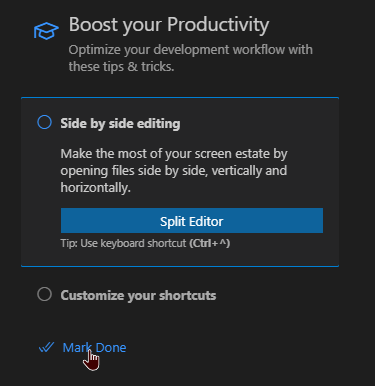
On the last page, as before, click "Mark Done" if you are ready.
We are finished with the installation of VSCode. You can close it for now.
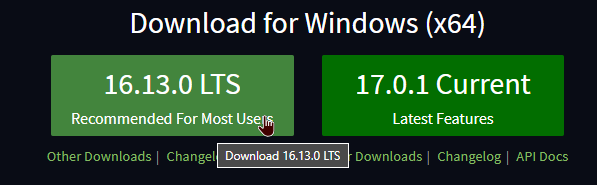
GitHub Desktop
GitHub Desktop is used to download GitHub Repositories, so you can edit them locally. Its possible to do this with Git, a command line tool, instead, but this is a bit more advanced and won't be covered in this tutorial.
Installation
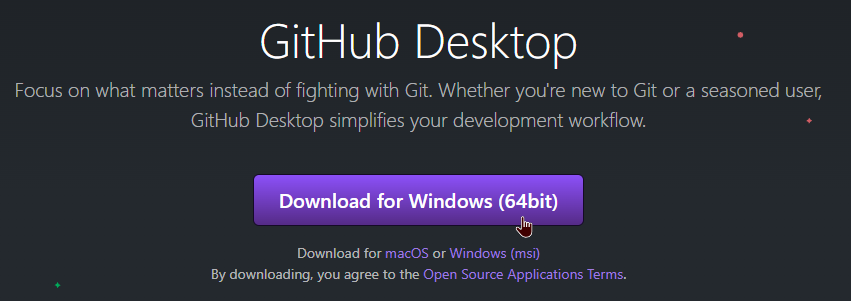
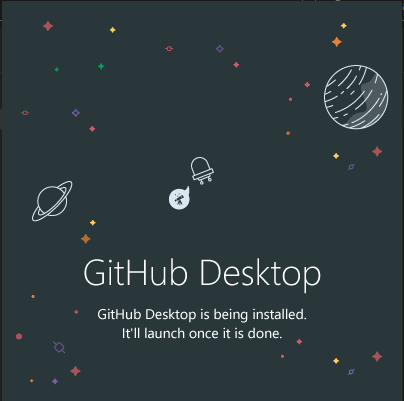
As before, go to your folder where you saved the .exe and double-click it. The Setup will open and automatically install GitHub Desktop. When its done, GitHub Desktop will automatically start.
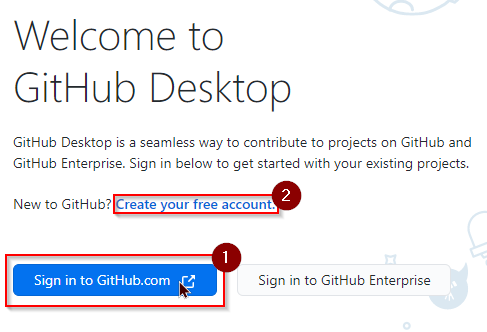
Next it asks you to sign in. If you already have a GitHub Account, just click Sign in to GitHub.com. In the browser tab, just sign in to your account. If you don't have a GitHub Account, click on Create your free account and create an account. Then continue normally.
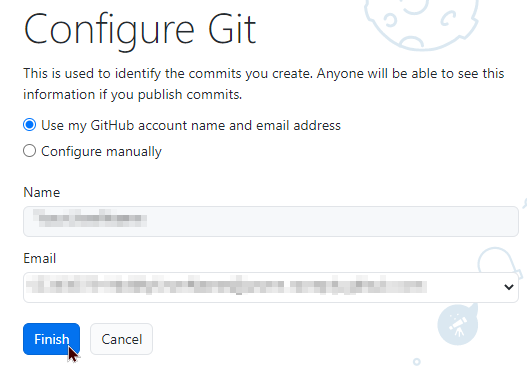
Now in GitHub Desktop, don't change anything and click "Finish".
For now, you can close GitHub Desktop.
NodeJS
With NodeJS we can view the wiki locally, as it would appear on the web. Its great to get typos or errors before you push it and we get an error on merging it.
Installation
Now, again, just go to your download folder and double-click the nodejs setup file. For our setup, you don't need to change anything. Just make sure you don't add Tools for native modules, as we don't need them. On the last page, just click Install. Wait for the installation to finish and click Finish.
Set Up Your Local Environment
Now as we have installed all of our necessary programs, we can start to contribute to the wiki. Well, at first we have to setup our local working environment. Don't worry, its very easy. Just follow the steps below:
Open our GitHub Repository and click on Fork. If you already forked it, no problem! Just continue below.

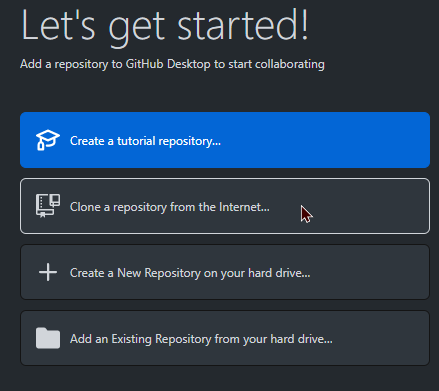
Open GitHub Desktop and click on Clone a repository from the Internet.
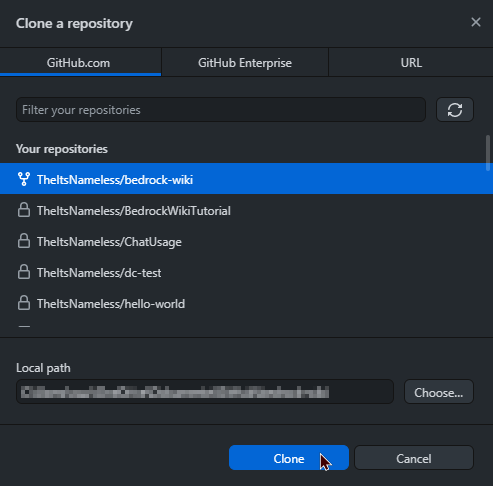
Now select your fork and click on "Clone". Your repository will automatically be cloned.
After that, you will see an overview over your clone. To work on it, just click on "Open in Visual Studio Code". VSCode will automatically open with our wiki. If VSCode asks you if it should trust the folder, just click on Yes, I trust the authors.

Now you have successfully cloned the wiki to your local device and you can edit all files!
Committing Your Changes
Once you finished working on the wiki, you can now commit and push your changes directly to our repository!
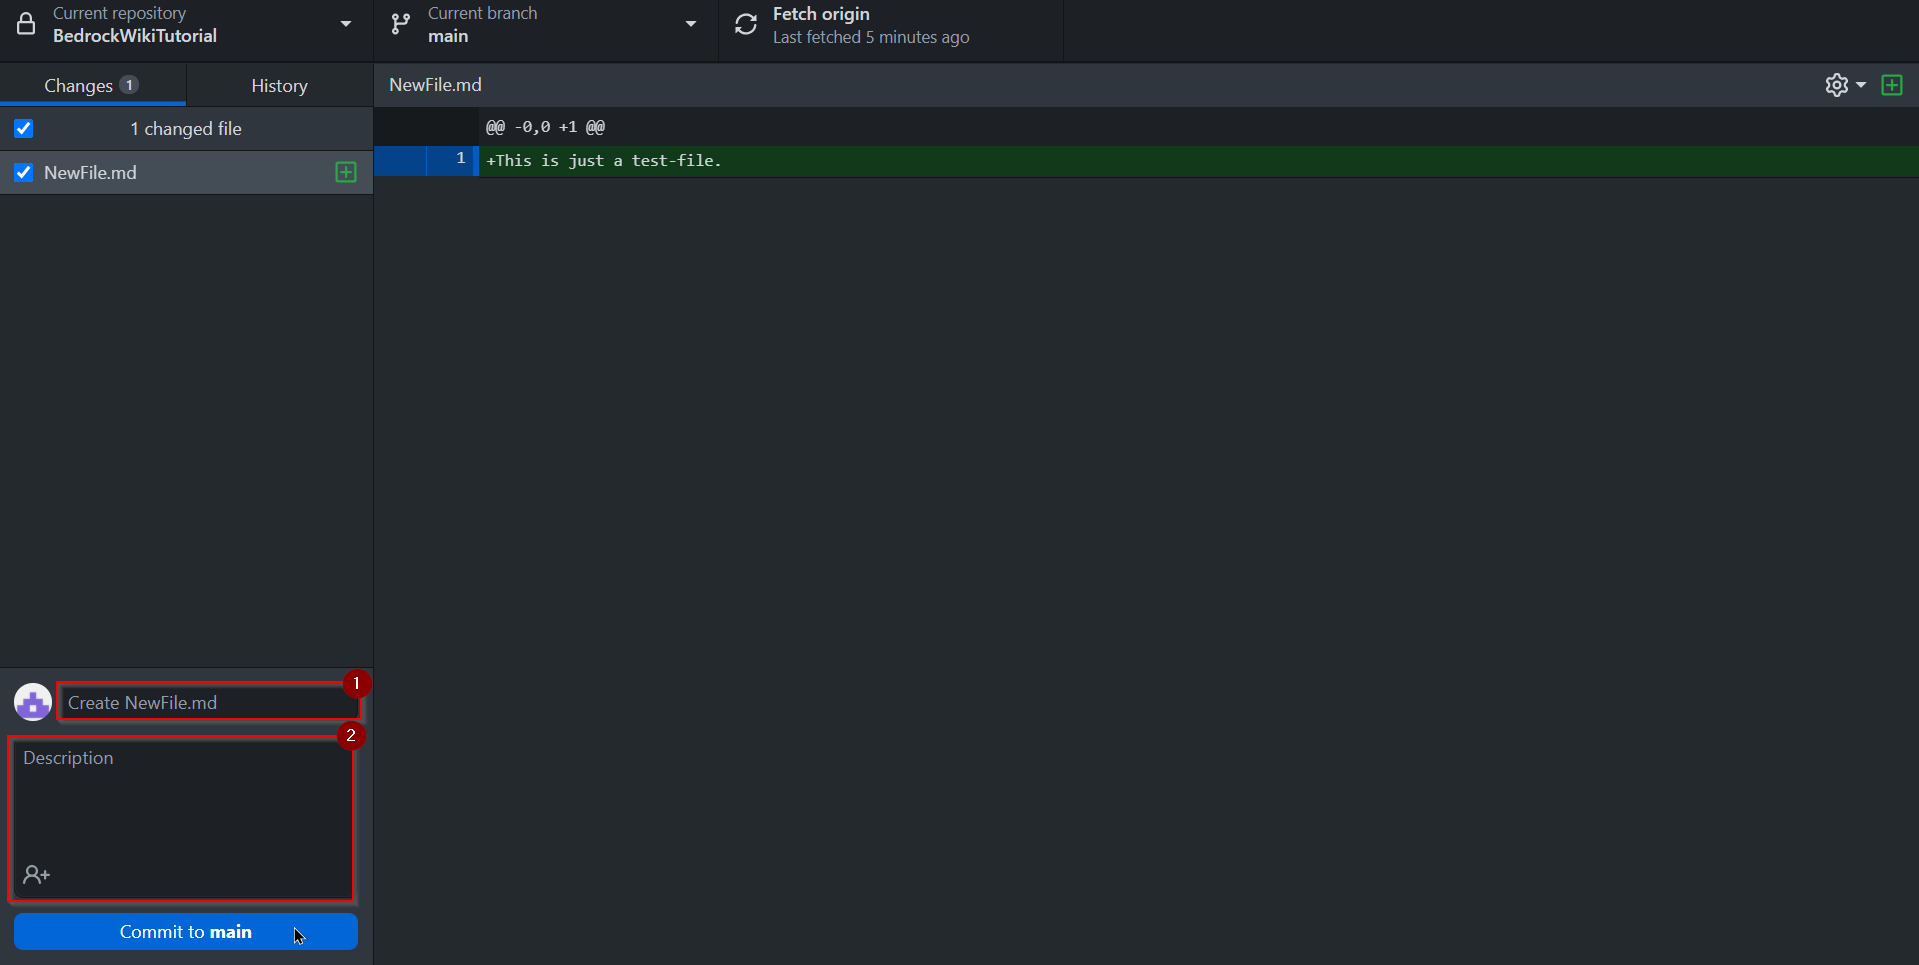
Switch to GitHub Desktop and you should see your changes. If you can't see them, make sure you saved your files and opened the right repository in GitHub Desktop.
Once you confirmed your changes in GitHub Desktop, you can give your commit a name and a description (but both aren't necessary) and click on commit to main.
After you committed your changes, you need to push your local clone to GitHub. Just click on Push commits to the origin remote.
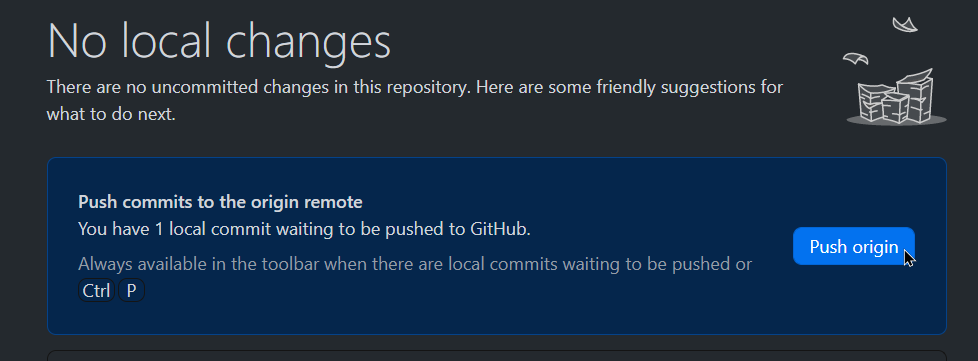
GitHub will now send your local clone to their servers.
Creating a Pull Request
Now that GitHub has your edits on their servers, you need to create a "Pull Request" (PR), so that we can merge your changes.
There are many ways to do this. For now, just click on Create Pull Request in GitHub Desktop.

GitHub Desktop will open your PR in your browser. You can edit your PR, but you don't need to. Everything should already be correct and enough for us to merge it. Just click on Create Pull Request.
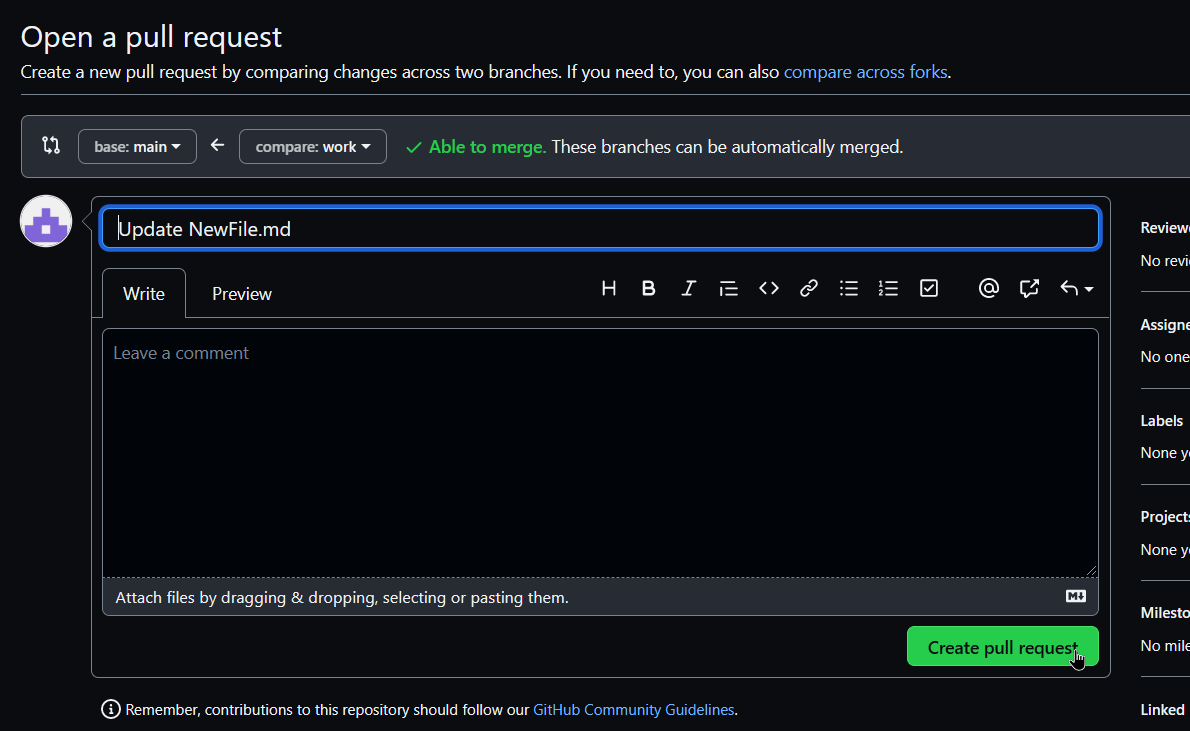
You are done! Now its our turn to merge your changes in our wiki!
Updating Local Environment
Since you are not the only person who works on the wiki, there might be some changes that you currently don't have in your local clone. To update your local clone, you need to update your fork. Don't worry, its really easy!
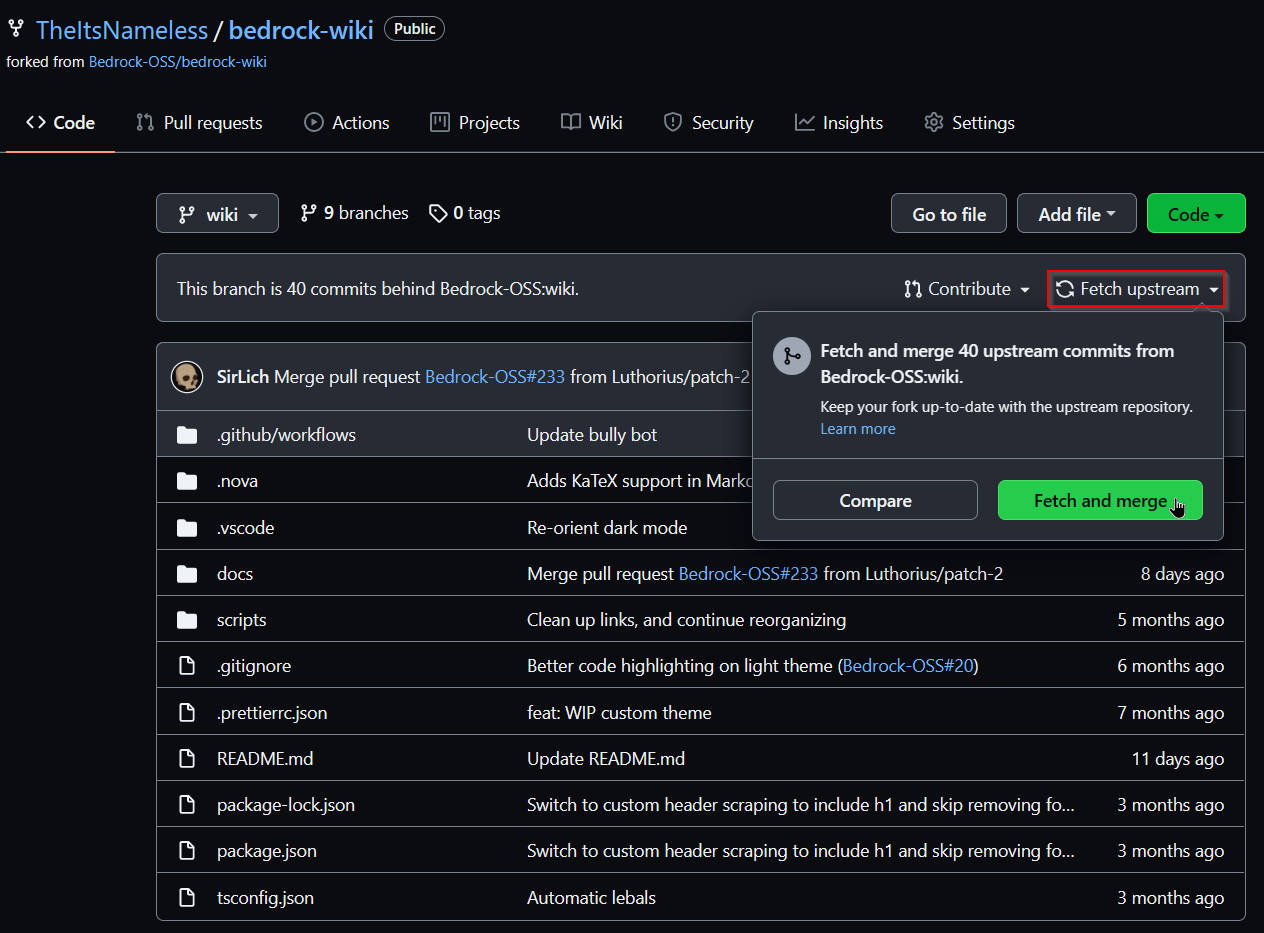
With GitHub opened in your browser, open your fork. You will see a field that shows you, that you are out of date. Just click on Fetch upstream and then on Fetch and merge.
Now in GitHub Desktop you need to pull the origin by clicking on Pull Origin. Your local clone should automatically update.
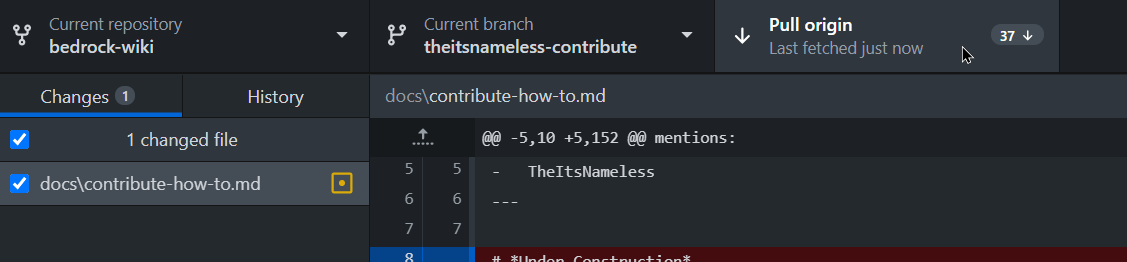
Your local clone is now up-to-date!
Troubleshooting
This process has to be done every time someone else updates our wiki. If you forget to to that, you might get some problems, like we can't automatically merge your PR. (You see this, when you try to open a PR)

If this happens, don't worry. You can easily fix this problem.
Fixing It
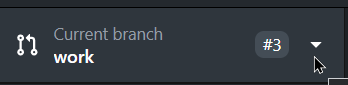
Update your fork like we did in the previous step. After that, you can't just pull the changes to your local clone in GitHub Desktop, because this would cause problems. Instead, click on Current branch.
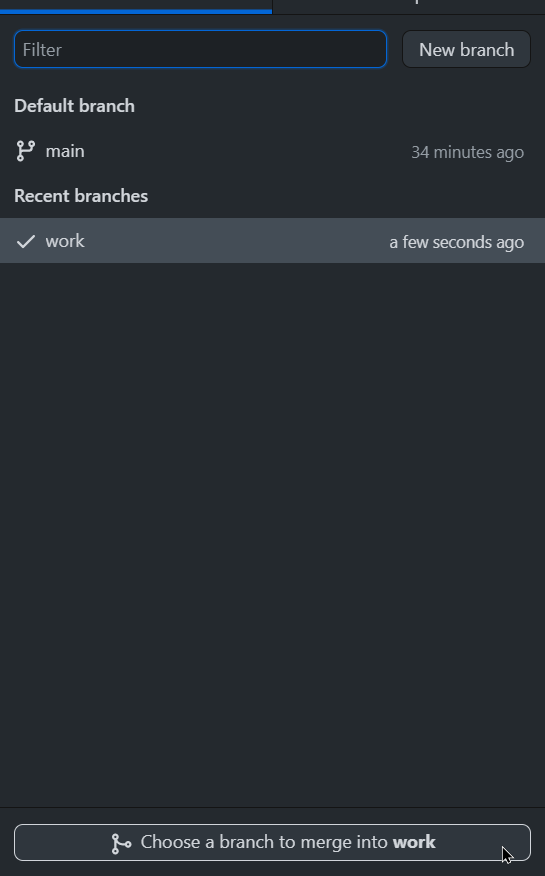
Now click on Choose a branch to merge into ....
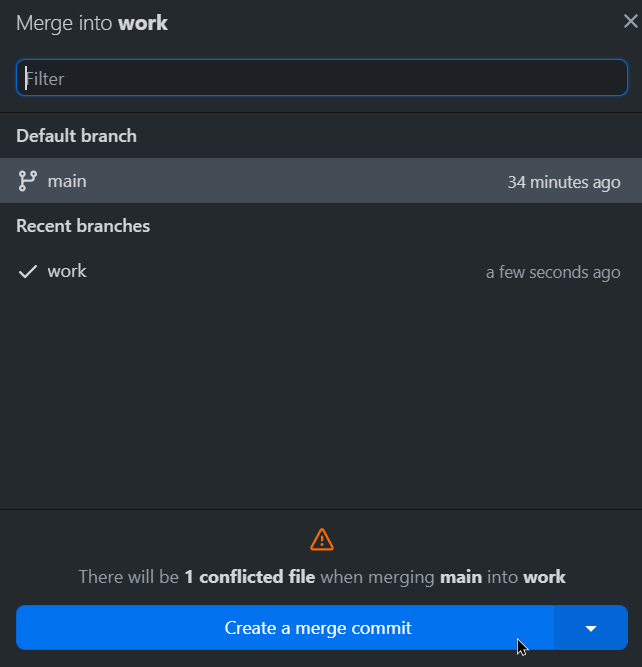
Select the default branch (it should already be selected) and click on Create a merge commit.
Now open in VSCode.
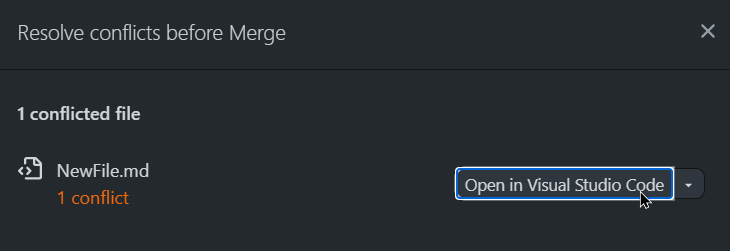
Click on Accept Current Change, because you want your changes to be updated, not someone elses. This step has to be done for every problem that exists. If you don't do this for every problem, we can't merge your PR.
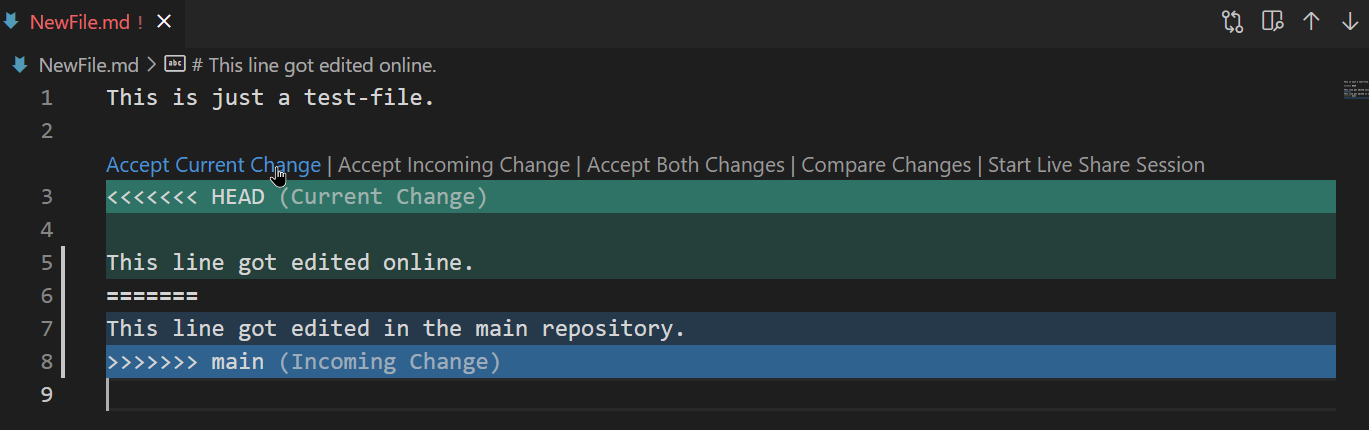
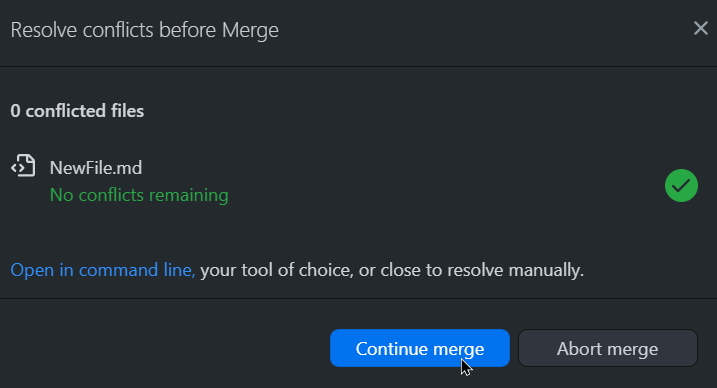
Otherwise, you can Accept Incoming Change to accept the changes someone else made. Then save and return to GitHub Desktop. There you just click on continue merge.
And now this problem is solved! You can continue safely, commit to your branch and create a PR.
Conclusion
Now you have all the software installed and learned all the skills you need to edit our wiki! If you wan't to learn more about styling your articles, please read our guide on
How to edit pages on our wikiContributors

